By L8MS Team · Updated 5 Nov 2026
Report Settings / Custom Reports (Administration › Customisations) is the list of report layouts your companies can produce from an assessment. The list shows each report’s company, title, whether it uses headers, its type and its Word Template.
Add a report
Click Add New Report. Give it a Report Name, and set Uses Headers and Domestic Report as needed.
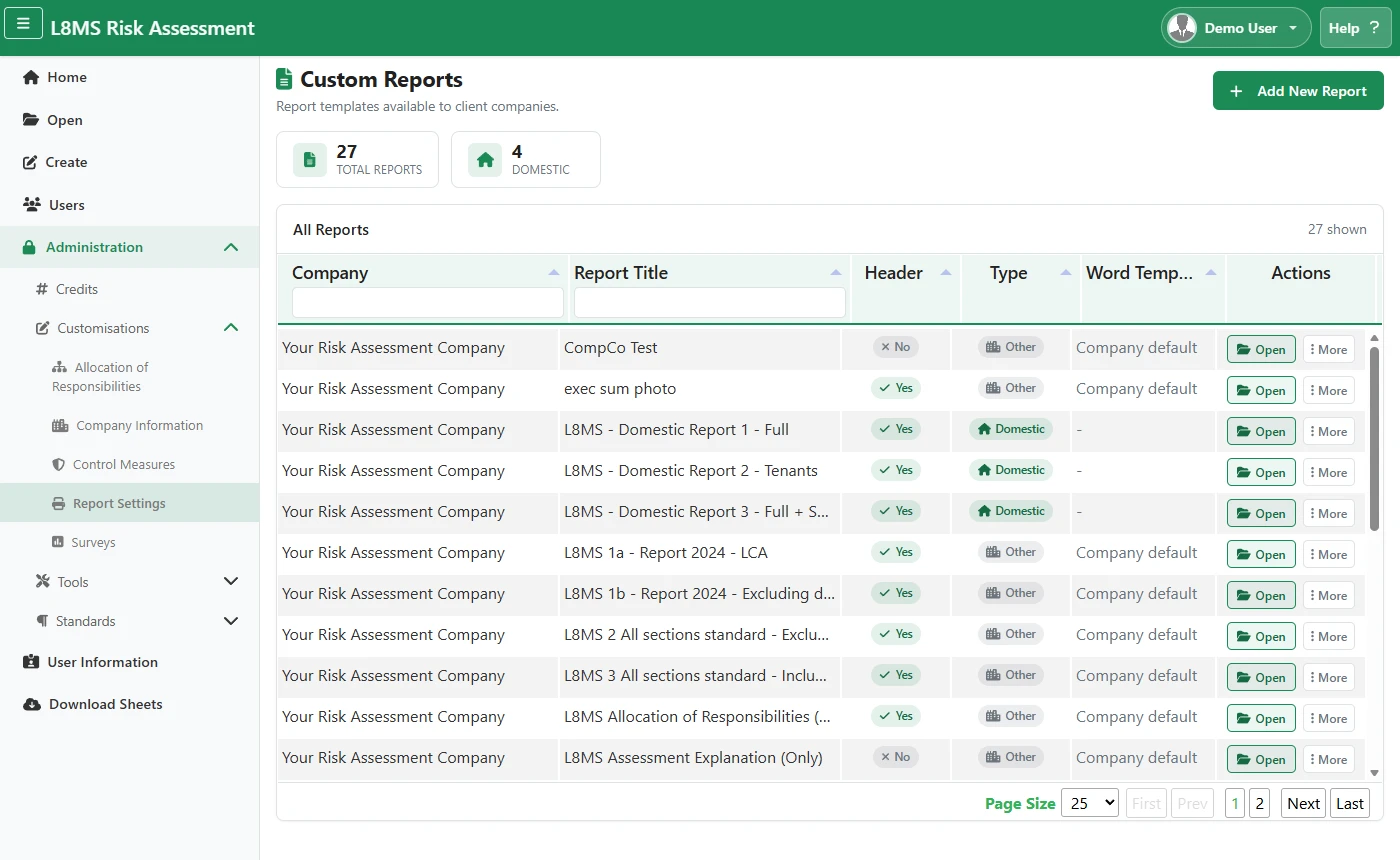 Custom Reports.
Choose the Word template: Company default, one of your uploaded templates, or None (the standard layout). Templates are uploaded in Company Information. Domestic reports don’t use one.
Optionally choose Replicate an existing report? to start the new one as a copy of another, then click Save.
Choose the sections
Click Open on a report to see Custom Report Sections — the parts of the assessment it prints, in order.
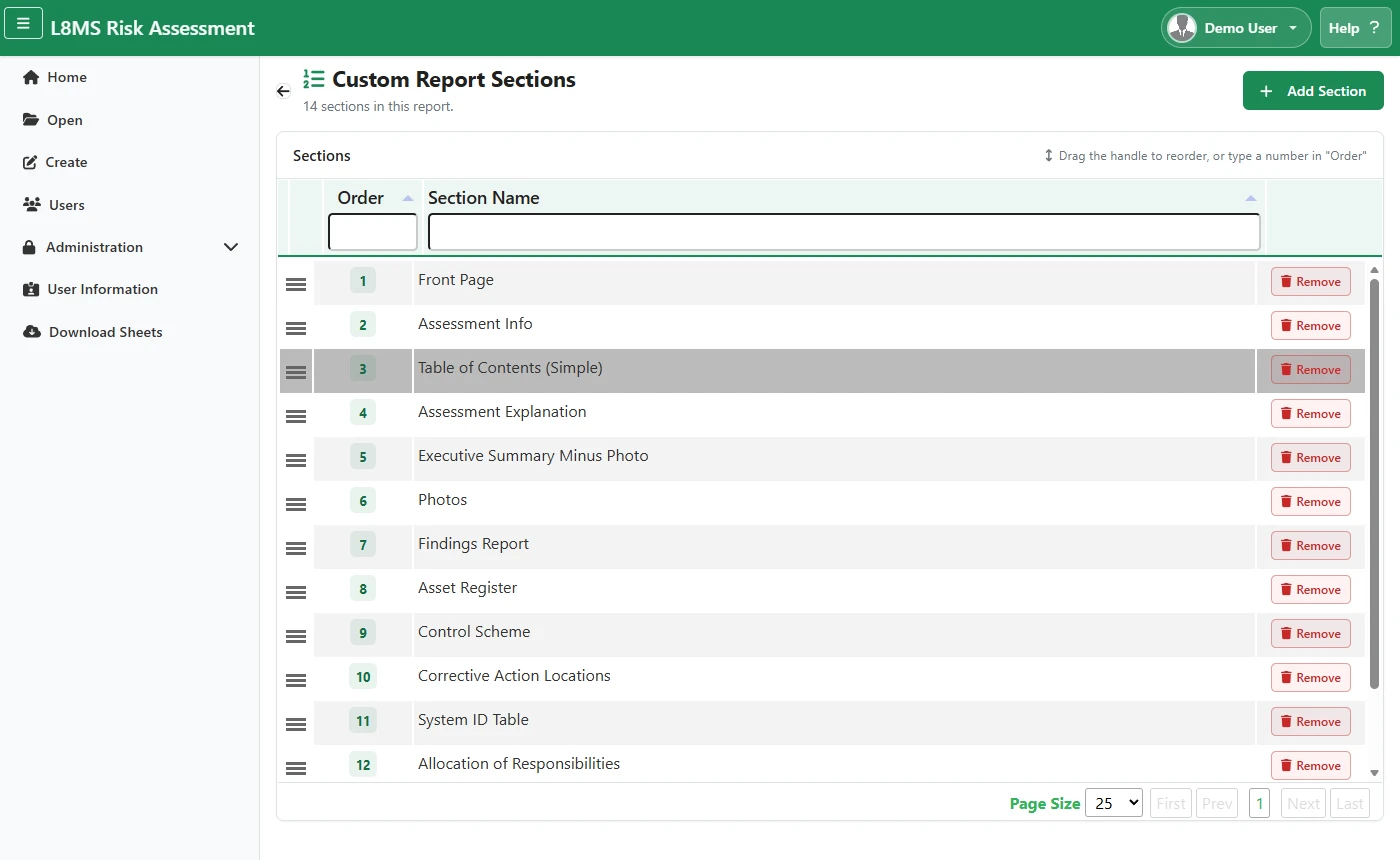 Report sections.
Click the add button for Add New Report Section: pick the Section Name and an Order Number (it defaults to the next position — change it to slot the section in elsewhere).
Remove takes a section out of the report.
Drawings in the reportFor uploaded drawings, use Drawings & Additional Information to list them with download links, or Additional Information to put the files themselves into the report with contents-page headings — see Drawings and additional information.
Edit or delete
Use the More menu on a row for Edit Report (name, headers, Word template — only that report’s company’s templates are listed) and Delete Report.
Where reports show upPublished reports appear on the assessment’s Print page under the Custom filter.