By L8MS Team · Updated 10 Nov 2026
Nonconformities in the site menu lists the open site’s nonconformities. It works exactly like the all-sites Nonconformities page, for one site.
Find what you need
-
Choose Open or Closed and a date range (Last 30 days to Last 12 months, or Custom range).
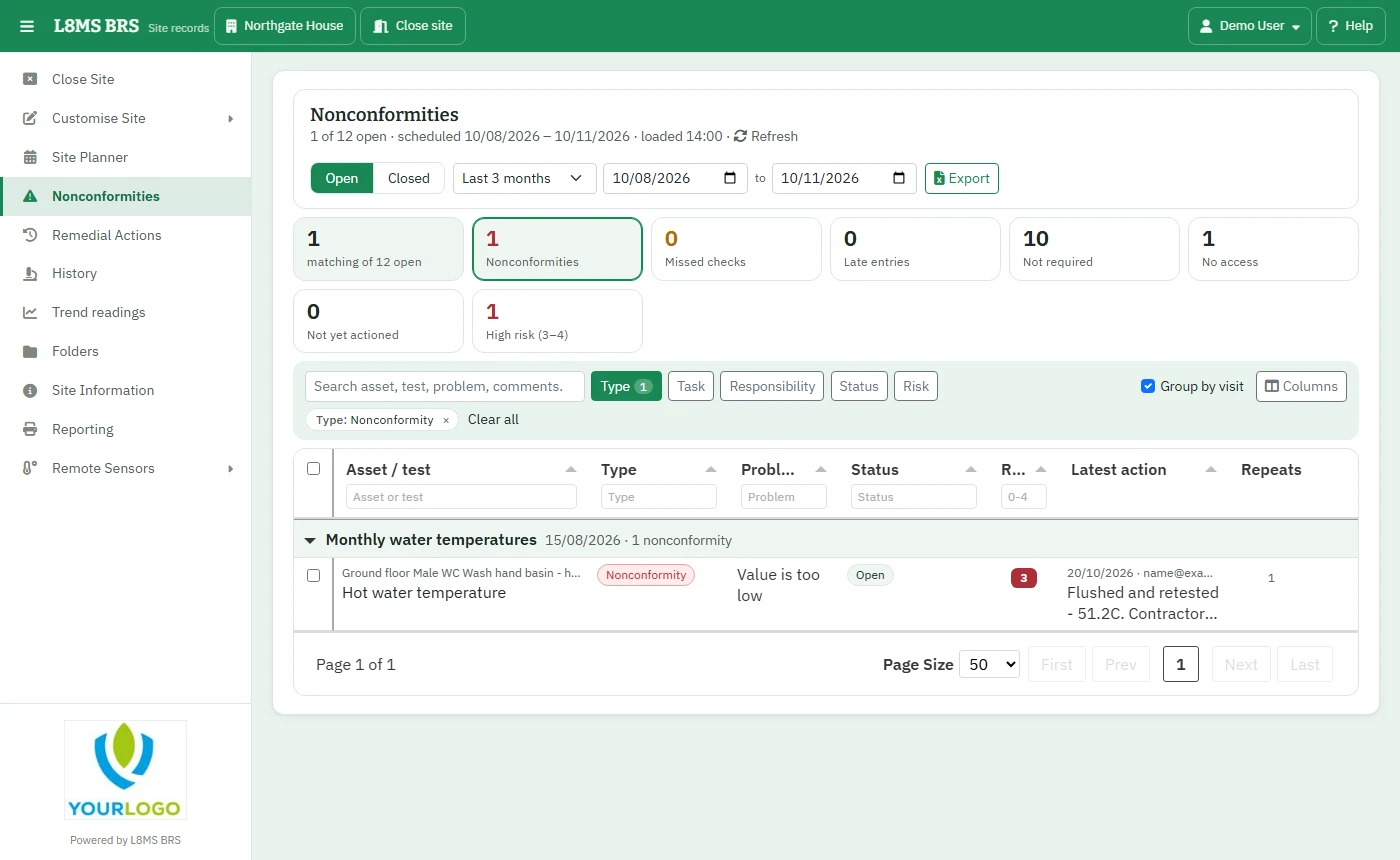 A site’s nonconformities.
Click a figure along the top — Missed checks, No access, Not yet actioned, High risk (3–4) and so on — to filter to it. Filter further by Type, Task, Responsibility, Status or Risk, or type in a column’s box.
Group by visit groups the list by visit. Columns adds or hides columns such as Comments, Owned by or Job no. Repeats (18m) shows how often the same problem has come up on that asset in 18 months.
Update one
-
Click a row. The panel shows What was recorded, its History, and an Update form.
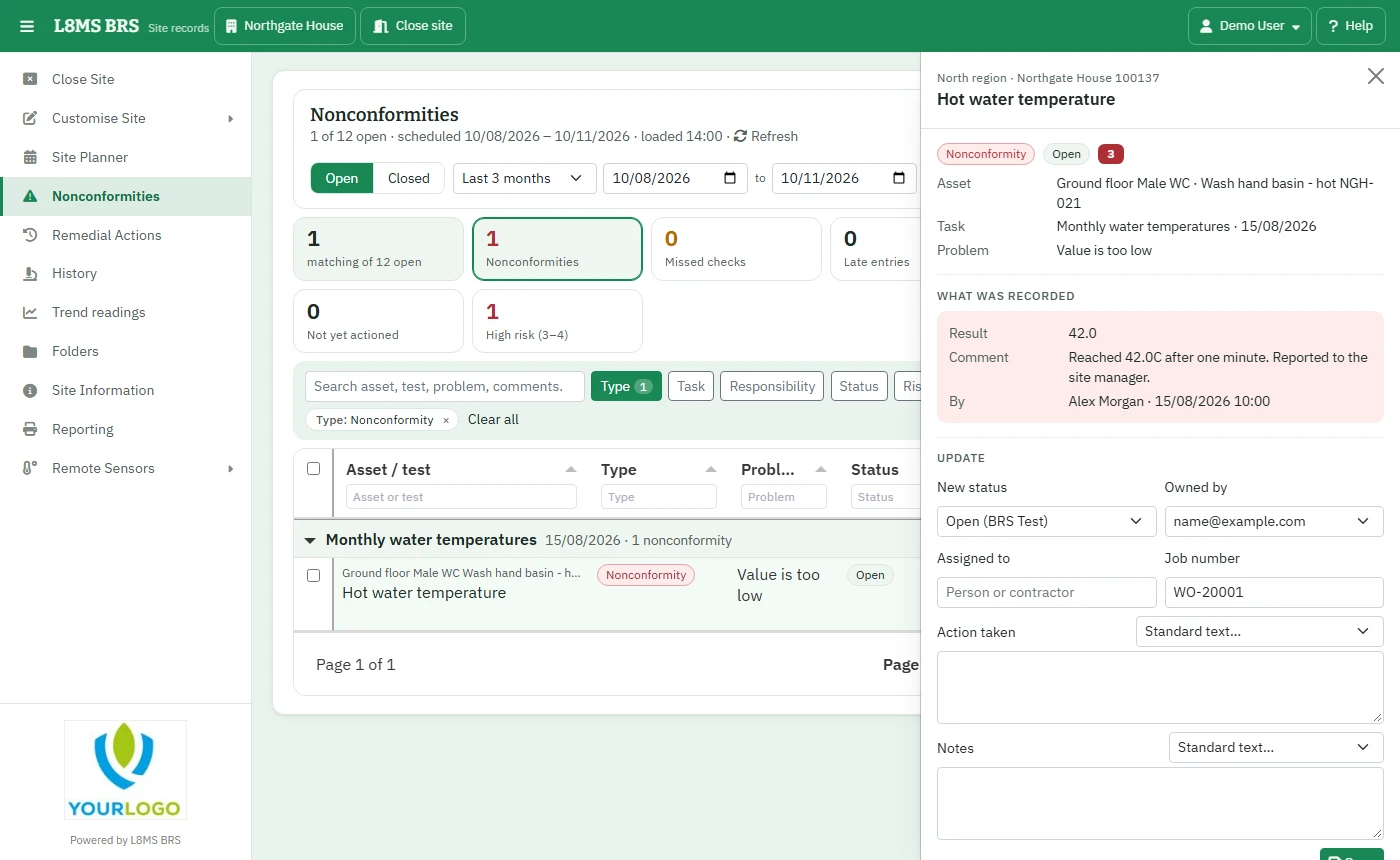 Updating a nonconformity.
Choose the New status and fill in Action taken, Notes, Owned by, Assigned to and Job number as needed. Save adds it to the history.
Work on several at once
Tick rows (or select every matching row) and use the bar that appears:
- Update status — the same update for all of them.
- Raise job — creates a one-off visit for a chosen task, with each item’s asset added.
- Move responsibility — hands them to another responsibility group.
- Retire tests — stops the test behind each one being scheduled again (for an asset that has gone). The nonconformities themselves are not closed.
Export downloads the filtered list to Excel.